Electrical panel wiring diagrams simplify complex systems, showing connections between devices․ They are essential for electricians to plan, install, and troubleshoot circuits safely and efficiently․ These diagrams serve as a roadmap for understanding how power is distributed within a building, ensuring compliance with electrical codes and standards․ This guide provides a comprehensive overview, helping readers interpret and apply wiring diagrams effectively for various electrical installations․
1․1 Importance of Electrical Panel Wiring Diagrams
Electrical panel wiring diagrams are crucial for understanding and managing electrical systems․ They provide a clear visual representation of connections, ensuring safe and efficient installations․ These diagrams help prevent overloading by organizing circuits properly․ They also enable quick identification of issues, reducing downtime during troubleshooting․ Compliance with electrical codes and standards is simplified, as diagrams outline proper wiring practices․ For electricians, diagrams serve as a guide for planning and executing projects accurately; They also act as a reference for future maintenance and upgrades, ensuring long-term system reliability and safety․ Using diagrams minimizes risks of electrical hazards, making them indispensable for both professionals and DIY enthusiasts․
1․2 Brief Overview of Electrical Panels
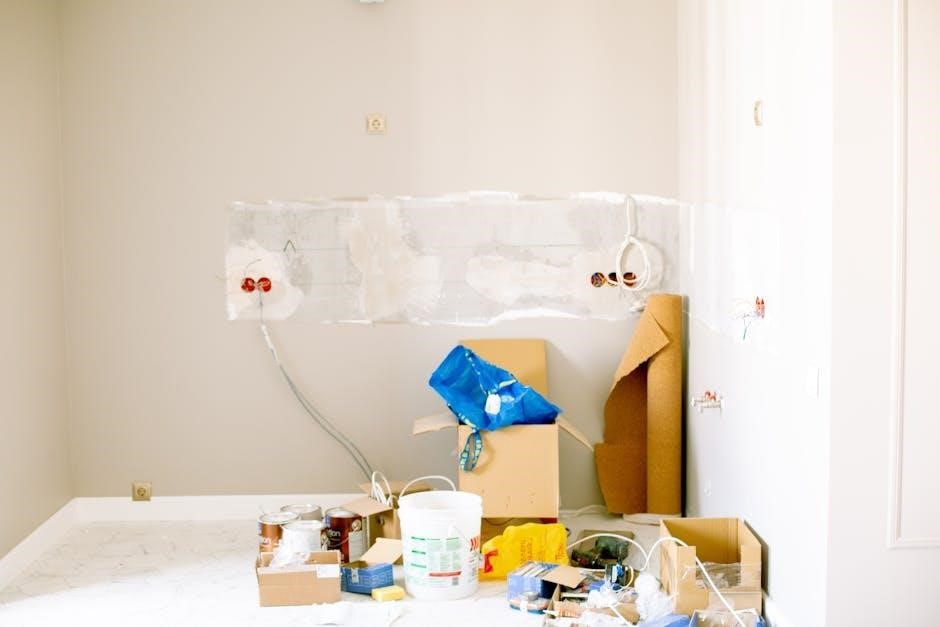
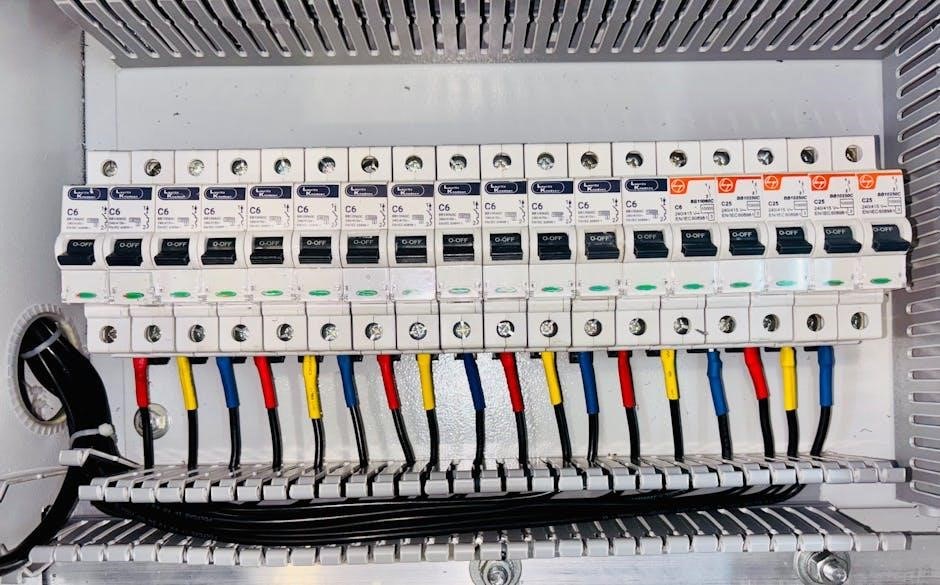
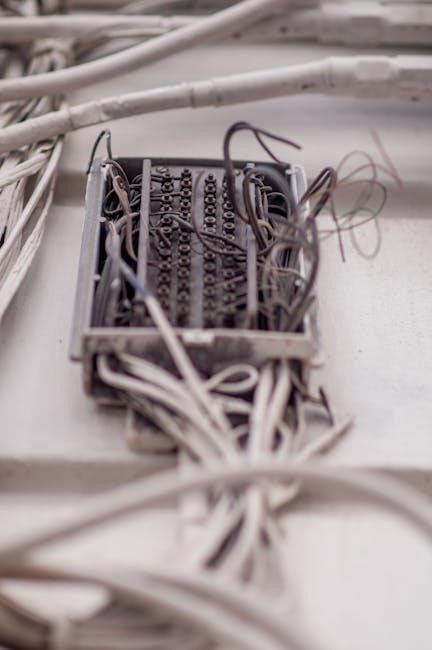
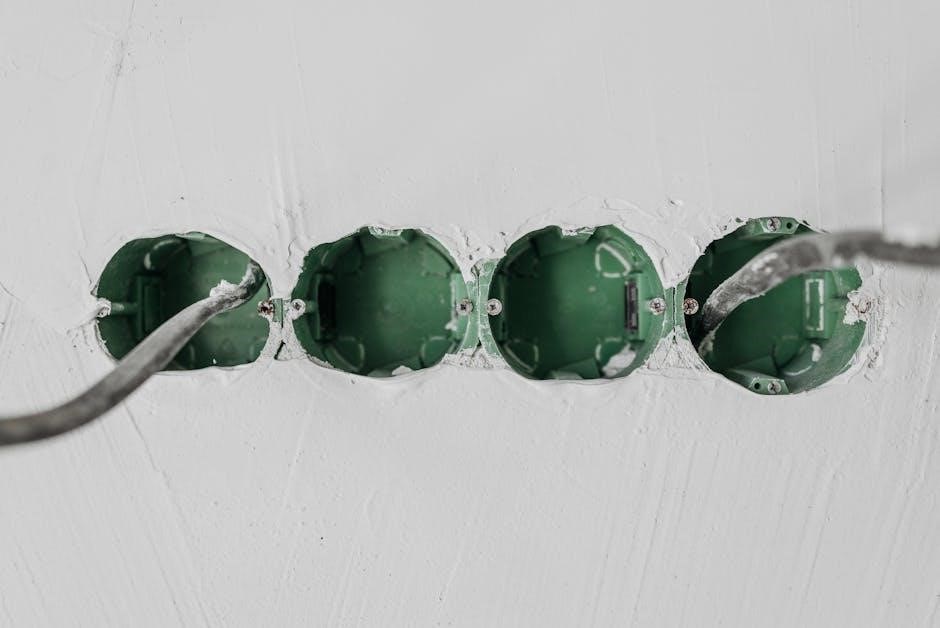
Electrical panels, often referred to as breaker boxes, are central components of electrical systems․ They house circuit breakers or fuses to distribute power safely throughout a building․ Panels act as the main distribution point for electrical circuits, protecting against overloads and short circuits․ Wiring diagrams for these panels are essential for understanding connections and planning installations․ They detail how power flows from the main supply to individual circuits․ Properly designed panels ensure efficient energy distribution, safety, and compliance with electrical codes․ Regular maintenance and updates are crucial to maintain reliability and prevent hazards․ Understanding electrical panels is foundational for working with wiring diagrams effectively․
Understanding Electrical Panel Wiring Diagrams
Electrical panel wiring diagrams provide a visual representation of circuit connections, essential for planning, installing, and troubleshooting electrical systems․ They detail components, symbols, and pathways, ensuring safe and efficient power distribution․
2․1 Key Components of an Electrical Panel Diagram
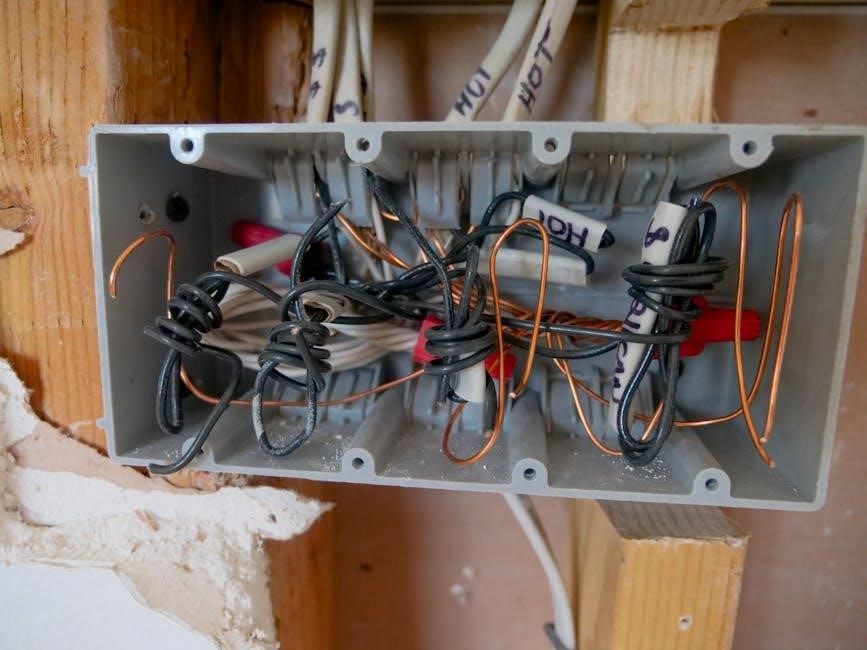
An electrical panel diagram includes essential components like circuit breakers, main power supplies, ground and neutral bars, and branch circuits․ These elements are represented using standardized symbols, such as lines for wires, circles for breakers, and rectangles for panels․ The diagram also outlines the flow of electricity, showing how power enters the panel and is distributed to various circuits․ Labels and color coding help identify live, neutral, and ground wires, ensuring safe and efficient connections․ Understanding these components is crucial for interpreting the diagram accurately and performing installations or repairs without errors․
2․2 Symbols and Notations Used in Wiring Diagrams
Electrical panel wiring diagrams use standardized symbols and notations to represent components and connections․ Common symbols include lines for wires, circles for circuit breakers, and rectangles for panels․ Ground wires are often marked with a grounding symbol, while neutral wires may be colored or labeled․ Color coding is also used to differentiate live, neutral, and ground wires․ Labels and annotations provide additional details, such as breaker ratings and circuit designations․ These symbols and notations ensure clarity and consistency, making it easier to interpret and work with the diagram․ Understanding these conventions is essential for accurately wiring or troubleshooting an electrical panel․
2․3 How to Read a Circuit Breaker Panel Wiring Diagram
Reading a circuit breaker panel wiring diagram involves identifying key components and their connections․ Start by locating the main power supply and circuit breakers․ Trace wires to understand how they connect to branch circuits, outlets, and appliances․ Symbols and labels indicate specific functions, such as grounding points or neutral bars․ Check for color coding to distinguish live, neutral, and ground wires․ Follow the flow of electricity from the main breaker to individual circuits․ Verify that all connections match the diagram to ensure safety and proper functionality․ This step-by-step approach helps in troubleshooting and installing electrical systems accurately․
Step-by-Step Guide to Wiring an Electrical Panel
This section provides a detailed, step-by-step guide to wiring an electrical panel, covering planning, connecting power, installing breakers, wiring ground and neutral bars, and connecting branch circuits safely․
3․1 Planning the Layout of the Electrical Panel
Planning the layout of an electrical panel is crucial for efficient installation․ Start by identifying the main power supply and distribution points․ Determine the number of circuit breakers needed based on the load requirements․ Use a wiring diagram to map out the connections accurately․ Organize components logically, ensuring proper spacing for safety and accessibility․ Label each breaker and wire clearly to avoid confusion․ Consider future expansion needs when designing the layout․ A well-planned layout reduces the risk of errors and ensures compliance with electrical codes․ Refer to the electrical panel wiring diagram PDF for specific guidance on component placement and connections․
3․2 Connecting the Main Power Supply
Connecting the main power supply is the first step in wiring an electrical panel․ Ensure the power is off and verify this with a voltage tester․ Locate the service entrance, where the main power lines enter the panel․ Attach the live wires to the main circuit breaker, securing them tightly․ Connect the neutral wire to the neutral bar and ensure the grounding system is properly linked․ Double-check all connections for tightness and accuracy․ Follow local electrical codes and refer to the wiring diagram for specific instructions․ This step is critical for ensuring safe and reliable power distribution throughout the system․ Always test the connections before restoring power․
3․3 Installing Circuit Breakers
Installing circuit breakers is a critical step in wiring an electrical panel․ Start by turning off the main power supply and verifying with a voltage tester․ Open the panel and locate the appropriate slot for the breaker․ Insert the circuit breaker into its designated position, ensuring it fits securely․ Connect the wires to the correct terminals, following the wiring diagram․ Select the right breaker size based on the circuit’s amperage rating․ Tighten all connections firmly to avoid loose points․ Label the breaker for easy identification․ Replace the panel cover and turn the breaker on to test its functionality․ Always refer to the wiring diagram for specific instructions to ensure compliance with electrical standards․ Proper installation ensures safe and reliable power distribution․
3․4 Wiring Ground and Neutral Bars
Wiring ground and neutral bars is essential for ensuring safety and proper electrical panel functionality․ Begin by identifying the designated ground and neutral terminals on the panel․ Connect the ground wire to the ground bar, ensuring it is securely fastened․ Next, attach the neutral wire to the neutral bar, following the wiring diagram․ Verify that all connections are tight to prevent loose points․ Use a voltage tester to confirm there is no power at the terminals before making connections․ Properly wiring these bars ensures safe operation and protects against electrical hazards․ Always refer to the wiring diagram for specific configurations and requirements․
3․5 Connecting Branch Circuits
Connecting branch circuits involves linking individual circuits to their respective breakers․ Start by identifying the branch circuit from the wiring diagram, ensuring it matches the breaker’s amp rating․ Locate the correct terminal on the breaker and strip the wire ends․ Securely connect the hot wire to the breaker terminal and the neutral wire to the neutral bar․ Gently tighten all connections to avoid damage․ Double-check the wiring diagram to confirm proper connections․ Use a voltage tester to ensure no power is present before finalizing․ Properly labeling each branch circuit is crucial for future maintenance․ Always follow local electrical codes for compliance and safety․
3․6 Final Testing and Inspection
Final testing and inspection are critical to ensure the electrical panel operates safely and efficiently․ Use a multimeter to verify voltage levels and check for short circuits or faulty connections․ Test each branch circuit to confirm power distribution matches the wiring diagram․ Inspect all wire connections, circuit breakers, and grounding systems for security and integrity․ Refer back to the wiring diagram to ensure no discrepancies exist․ Turn on the main power supply gradually, testing each circuit individually․ Wear safety gear during testing to prevent electrical shocks․ Document any issues and address them immediately․ Proper inspection ensures compliance with electrical codes and guarantees system reliability and safety․
Tools and Materials Needed for Panel Wiring
Essential tools include a multimeter, wire strippers, pliers, and screwdrivers․ Materials needed are copper wires, circuit breakers, grounding bars, and safety gear for protection․
- Multimeter
- Wire strippers
- Pliers
- Screwdrivers
- Copper wires
- Circuit breakers
- Grounding bars
- Safety gear
4․1 Essential Tools for Wiring an Electrical Panel
Wiring an electrical panel requires specific tools to ensure safety and efficiency․ A multimeter is crucial for measuring voltage and current, while wire strippers and pliers help prepare wires․ Screwdrivers are needed for securing connections, and a drill may be necessary for mounting components․ Safety gear, including gloves and goggles, protects against electrical hazards․ Additionally, a wire cutter and crimping tool are essential for precise wire connections․ Using the right tools ensures accurate and compliant installation, aligning with electrical codes and standards․ Proper tools also minimize risks of electrical shocks or fires, making them indispensable for any panel wiring project․
- Multimeter
- Wire strippers
- Pliers
- Screwdrivers
- Drill
- Safety gear (gloves, goggles)
- Wire cutter
- Crimping tool
4․2 Materials Required for Safe and Efficient Wiring
Proper materials are essential for safe and efficient electrical panel wiring․ High-quality copper wires are preferred for their conductivity and durability․ Circuit breakers, fuses, and busbars are critical for power distribution and protection․ Neutral and grounding bars ensure safe current paths․ Insulated wire connectors and cable ties organize wires neatly․ Electrical tape and heat shrink tubing provide insulation against short circuits․ Fire-resistant materials, like flame-retardant panels, enhance safety․ Correct gauge wires prevent overheating, while labels ensure clear identification․ Using these materials ensures compliance with electrical codes and minimizes risks of hazards․ Always verify ratings and compatibility to maintain system integrity and performance․
- Copper wires
- Circuit breakers
- Fuses
- Busbars
- Neutral and grounding bars
- Insulated wire connectors
- Electrical tape
- Heat shrink tubing
- Fire-resistant materials
- Labels and cable ties
Safety Tips for Working with Electrical Panels
Always de-energize the panel before starting work and use personal protective equipment (PPE)․ Follow lockout/tagout procedures and test for voltage to ensure safety․ Avoid overloading panels and consider arc flash protection when working with high-voltage systems․
5․1 Precautions Before Starting the Wiring Process
Before starting, ensure the electrical panel is de-energized by turning off the main power supply․ Verify this using a voltage tester to confirm no live wires․ Use lockout/tagout procedures to prevent accidental energization․ Wear appropriate PPE, including insulated gloves, safety glasses, and a face mask․ Review the wiring diagram to understand the circuit layout and identify potential hazards․ Ensure all tools are rated for the voltage levels you’ll be working with․ Never work alone; have a trained individual nearby in case of emergencies․ Follow local electrical codes and manufacturer guidelines for safe installation practices․ Proper preparation is key to avoiding accidents․
5․2 Safety Gear and Protective Equipment
When working with electrical panels, wearing proper safety gear is essential to prevent injuries․ Insulated gloves rated for high voltage protect hands from electrical shocks․ Safety glasses or goggles shield eyes from debris or sparks․ A face mask can prevent inhalation of dust or particles․ Steel-toe boots and non-conductive footwear are recommended to ensure stability and protection․ Use a voltage tester to confirm wires are de-energized before starting work․ Keep a fire extinguisher nearby, rated for electrical fires․ Proper PPE ensures compliance with safety standards and minimizes risks during wiring tasks․ Always prioritize personal safety to avoid potential hazards․
5․3 Emergency Procedures and First Aid
In case of an electrical emergency, act quickly and safely․ If someone experiences electrical shock, immediately disconnect the power source if possible․ Do not touch the person directly, as this can cause harm to you․ Call emergency services and administer CPR if the person is unresponsive․ For minor burns from electrical sources, cool the area with running water for 10-15 minutes․ Remove any jewelry near the burn and cover it with a sterile bandage․ Keep a fire extinguisher rated for electrical fires nearby․ Always have a first aid kit accessible․ Proper emergency procedures can prevent injuries from escalating and ensure timely medical attention․
Common Mistakes to Avoid in Panel Wiring
Overloading the panel, incorrect wire connections, and improper circuit breaker usage are common errors․ These mistakes can lead to safety hazards and system malfunctions, emphasizing the need for careful planning and adherence to wiring diagrams․
6․1 Overloading the Electrical Panel
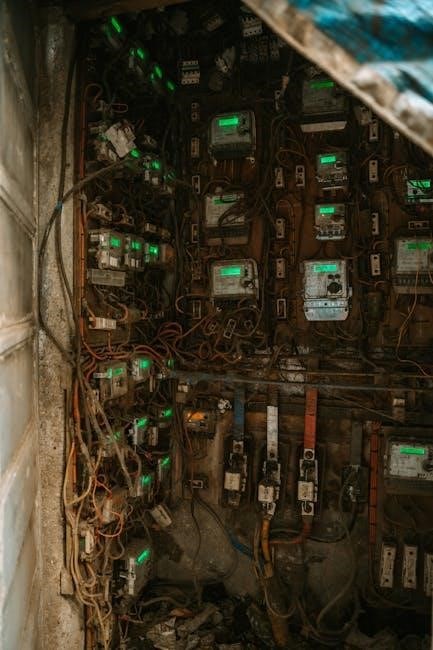
Overloading an electrical panel is a critical mistake that can lead to fire hazards, equipment damage, and power outages․ It occurs when the total current exceeds the panel’s rated capacity․ This often happens when too many high-power devices are connected to the same circuit or when the panel is not sized correctly for the electrical demand․ Overloaded panels may cause breakers to trip frequently or wires to overheat․ To prevent this, ensure the panel is appropriately rated for the load and avoid adding excessive circuits without professional assessment․ Regular inspections and upgrading outdated panels can mitigate these risks effectively․
6․2 Incorrect Wire Connections
Incorrect wire connections are a common and dangerous mistake in electrical panel wiring․ Misconnecting wires can lead to short circuits, electrical fires, or equipment damage․ This often occurs when wires are mismatched in terms of voltage, current, or phase․ For example, connecting a live wire to a neutral terminal or reversing hot and neutral wires can cause serious issues․ To avoid this, always refer to the wiring diagram and ensure wires are properly labeled and matched according to their intended purpose․ Double-checking connections before energizing the panel is crucial for safety and functionality․ Proper training and adherence to electrical standards are essential to prevent such errors․
6․3 Improper Use of Circuit Breakers
Improper use of circuit breakers is a critical mistake in electrical panel wiring․ Circuit breakers are designed to protect specific circuits from overcurrent, but incorrect installation or misuse can lead to system failures or safety hazards․ Common errors include installing a breaker with the wrong current rating, ignoring phase balancing in three-phase systems, or using circuit breakers in applications they are not rated for․ This can result in malfunctions, electrical fires, or equipment damage․ Always consult the wiring diagram to ensure correct breaker selection and installation․ Proper breaker usage is essential for maintaining electrical safety and system reliability in any installation․
Resources for Electrical Panel Wiring Diagrams
Reliable PDF resources and software tools are available online for creating custom electrical panel wiring diagrams, such as Figure 4․2 Control Panel Circuit Wiring Diagram and Wiring Diagram Dse 7320 Amf Pdfcoffee Com, along with guides from Realpars․
7․1 Finding Reliable PDF Resources Online
Reliable PDF resources for electrical panel wiring diagrams are widely available online․ Websites like Pdfcoffee․com offer detailed diagrams, such as the Wiring Diagram Dse 7320 Amf and Arl 200 Electrical Diagrams V18․ These documents provide clear schematics and instructions for understanding and implementing electrical panel wiring․ Additionally, platforms like Realpars offer tutorials and guides on how to interpret these diagrams effectively․ Many resources also include step-by-step instructions and safety tips, ensuring safe and efficient wiring practices․ When searching, prioritize reputable sources to ensure accuracy and compliance with electrical standards․ Verifying the source and cross-referencing information is always recommended․
7․2 Software for Creating Custom Wiring Diagrams
Various software tools are available for creating custom wiring diagrams, catering to both professionals and DIY enthusiasts․ Programs like Solid Edge and specialized electrical CAD software allow users to design detailed schematics and wiring layouts․ These tools provide libraries of electrical symbols, enabling precise representations of components and connections․ They also support automation, making it easier to generate and edit diagrams․ Additionally, some platforms offer features for simulating circuits and checking for errors, ensuring compliance with safety standards․ These software solutions are invaluable for electricians and engineers, facilitating the creation of accurate and customizable wiring diagrams for electrical panels and other systems․
Best Practices for Maintaining Electrical Panels
Regular inspection, cleaning, and testing ensure optimal performance․ Check for loose connections, overheating, and wear․ Update components as needed and follow manufacturer guidelines to maintain safety and efficiency․
8․1 Regular Inspection and Maintenance
Regular inspection and maintenance of electrical panels are crucial for ensuring safety and efficiency․ Start by visually examining the panel for signs of wear, such as frayed wires or rust․ Check circuit breakers to ensure they are functioning correctly and not tripping unnecessarily․ Clean dust and debris from the panel and its components to prevent overheating․ Verify that all connections are tight and secure․ Use a wiring diagram to trace circuits and identify potential issues․ Test for ground faults and verify proper voltage levels․ Document your findings and schedule routine maintenance to prevent unexpected outages and ensure compliance with safety standards․
8․2 Updating and Replacing Outdated Components
Updating and replacing outdated components in electrical panels is essential for maintaining safety and efficiency․ Outdated circuit breakers, fuses, and wiring can pose fire hazards and fail to meet current electrical demands․ Use a wiring diagram to identify obsolete parts and plan replacements․ Upgrade to modern circuit breakers with higher capacity and better protection features․ Replace old wiring with insulated, high-grade cables to reduce fire risks․ Ensure all components meet current electrical codes and standards․ After replacement, test the system to verify proper function and safety․ Regularly review manufacturer recommendations for updates to keep your electrical panel reliable and up-to-date․
Mastering electrical panel wiring diagrams is key to safe and efficient electrical work․ These diagrams provide clear guidance, ensuring systems function reliably and meet safety standards․ Use them wisely․
9․1 Summary of Key Points
Electrical panel wiring diagrams are essential tools for understanding and managing electrical systems․ They provide a visual representation of connections, ensuring safe and efficient installations․ Key points include understanding symbols, planning layouts, connecting power supplies, and testing circuits․ Proper use of circuit breakers and grounding systems is critical․ Regular maintenance and adherence to safety protocols prevent hazards․ By following diagrams and best practices, electricians can ensure reliable power distribution․ These resources are invaluable for both professionals and learners, offering step-by-step guides and troubleshooting tips․ Always refer to updated diagrams for accurate and safe electrical work․
9․2 Final Thoughts on Electrical Panel Wiring
Mastery of electrical panel wiring requires a deep understanding of diagrams, safety protocols, and best practices․ These diagrams are invaluable resources for both professionals and learners, offering clear insights into circuit design and troubleshooting․ By following proper techniques and adhering to safety standards, electricians can ensure reliable and efficient power distribution․ Regular maintenance and updates are crucial to prevent hazards and adapt to new technologies․ Whether installing, repairing, or upgrading, electrical panel wiring diagrams serve as essential guides․ They empower individuals to work confidently, ensuring systems operate safely and effectively for years to come․